Configure Single Sign-On (SSO) in Laserfiche Cloud
- Sign in to Laserfiche Cloud and navigate to Account Administration.
- In the left pane, click Settings.
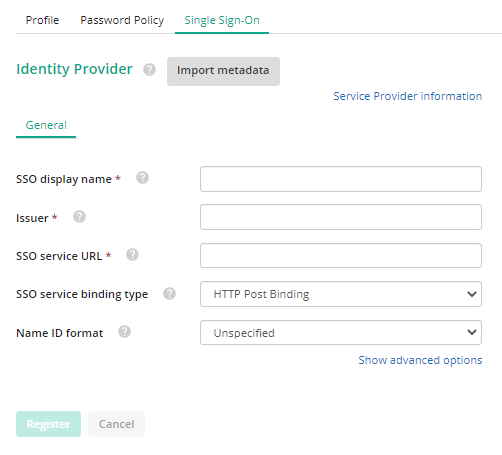
- Select the Identity Provider tab. If you have not previously configured single sign-on with an identity provider, the page will similar to the following image:
- Click Show service provider metadata to view information that you need to provide to your identity provider. Use the "download Laserfiche metadata file" option to download an XML file containing the information that you can import into most SAML identity providers.
- For step-by-step identity provider configuration options, choose an option below:
- SAML Identity Providers:
- Once single sign-on is configured, you must select which users will sign in to Laserfiche Cloud using single sign-on.
- Under Account Administration, click the Users tab.
- Click the name of the user for whom you wish to turn on single sign-on.
- Check the check-box for Enable Single Sign-On.
- Click Save to finish.
Note: To turn on single sign on for multiple people, you must predefine a list of SAML accounts. To learn more, see Batch Importing Of Laserfiche User Accounts With a Comma Separated Values (CSV) File.
Additional Information